A modified DSLR camera is a powerful tool in the hands of any astrophotographer. Depending on the model, it’s a fairly low-cost method to obtain results close to that of the big, expensive CCD cameras that are made just for astronomy. You can save even more by doing the modification yourself. My first modification, as described in
this post, was completed one year ago and I have done several more since then. My goal at that time was to have two cameras – one unmodified camera for normal photography and one modified camera for astrophotography. That goal didn’t last long once I realized the value of a nearly-new modified DSLR and needed some money to buy other astro equipment. Before long my unmodified camera was modified and quickly sold. After modding a couple more cameras and selling them, I was left with one modified Rebel XT. I installed a
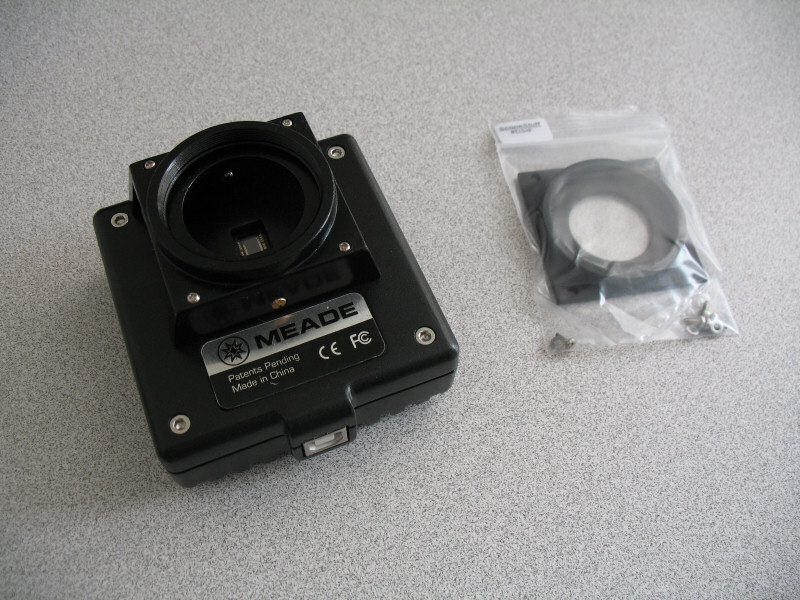
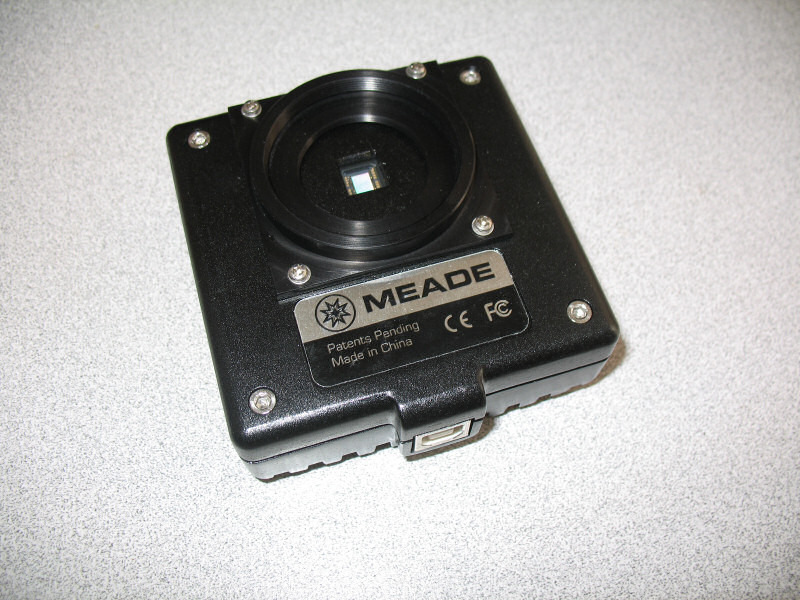
Baader UV/IR cutoff filter to replace the stock Canon filter in front of the sensor. This filter passes
much more of the red spectrum, including the all-important 656nm H-alpha wavelength. This gives all images a red cast.
At first, normal photography was not a problem as long as I was using my X-Nite CC1 filter from
MaxMax.com. This filter closely mimics the spectral response of the stock Canon internal filter and does a wonderful job of bringing the colors back to normal. Without it, my white balance is always wrong. But, as I have acquired more lenses and become much more interested in photography, the CC1 filter becomes more of an issue for a couple of reasons. First, my lenses have different filter sizes and it is inconvenient to change the filter with step rings if I need a quick lens change. Second, the CC1 filter increases my exposure time and makes hand-held photography in low lighting impossible without a tripod. It’s marginally acceptable with my Canon 50mm f/1.8 II lens – the only fast lens I own (because it’s cheap). My zoom lenses are f/3.5-4 at the widest, and I don’t want to spend a lot of money on fast zoom lenses.
I tried shooting without the CC1 filter and correcting the white balance when opening the RAW file in Photoshop. This works sometimes, but other times I just can’t seem to get the while balance right. Here’s an example of getting it right (or at least pretty close):
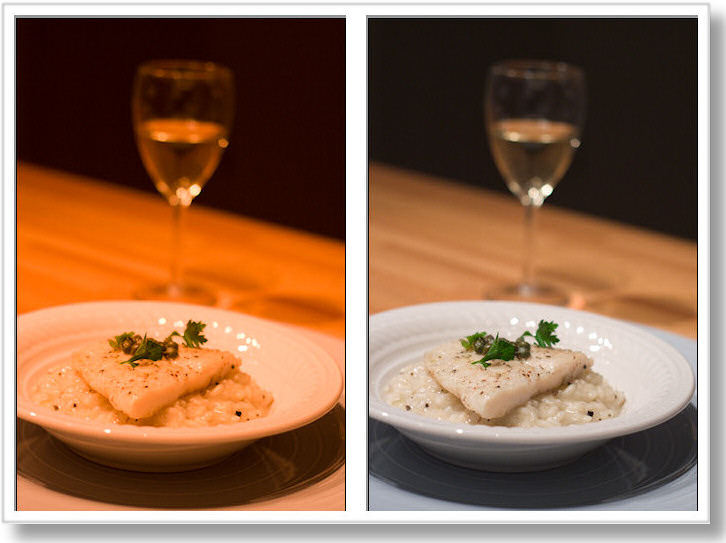
The left image uses the “As Shot” white balance setting in Photoshop RAW. A custom white balance was set from the inner lip of the white dish. It worked well in this case, as seen in the right image. Unfortunately I am not always going to get this lucky and find a nice neutral color in every situation. I could spend an hour trying to adjust levels and all sorts of other things to get the balance right, but I don’t want to do that on every photo I take!
I searched around on Google and read through dozens of websites discussing white balance. This seems to be a big topic of discussion for photographers based on what I found. There are so many products out there to help correct white balance, but which one to choose? After reading several reviews I finally decided on the WhiBal card from
RawWorkflow.com.
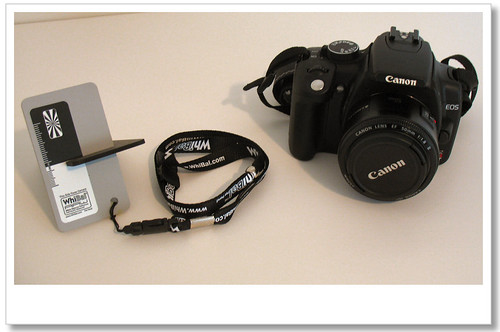
This little card is made of a neutral material that they check with a GretagMacbeth SpectroEye Spectrophotometer just to make sure it’s really neutral. It has a black & white label on one side that serves dual purposes – setting black & white points in Photoshop, and also telling you if you are getting glare by looking at the black portion (it’s reflective, so if it’s not black, you got glare). The WhiBal card arrived quickly and I immediately began taking some test shots. The WhiBal card is very compact and made of a sturdy foam-like material. It comes with a similarly-sized piece of black foam with a slot cut in it to serve as a stand. Also included is a lanyard with a quick-release clip and a carrying case made of very light material (feels like tent fabric).
The card takes a bit of getting used to at first. Finding the right angle to eliminate glare was tough at first, partly due to the so-so viewfinder of my Rebel XT, and partly due to shooting in a room with multiple light sources (overhead incandescent light and two windows). Below is a comparison of the “As Shot” white balance vs. the Custom white balance set from the WhiBal card:
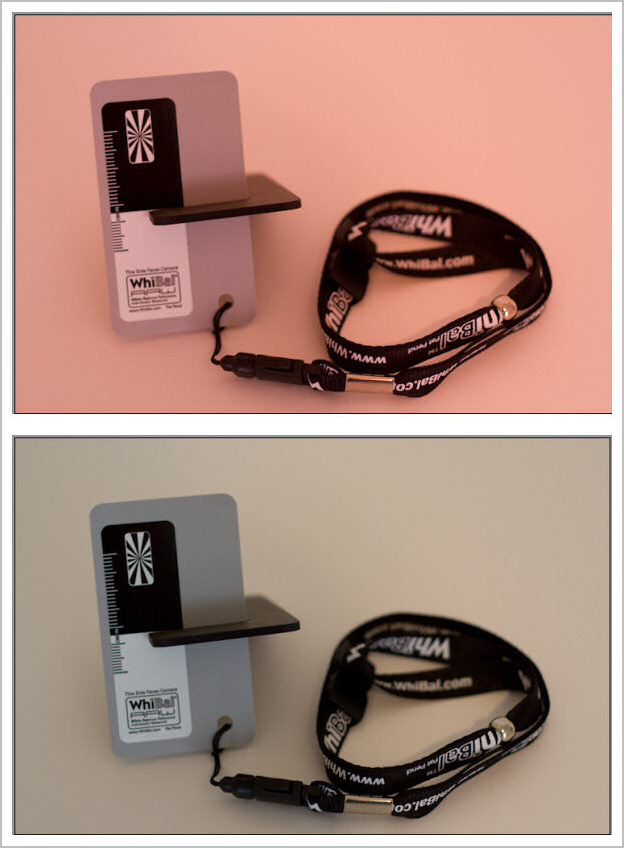
The top image has the usual reddish cast that one gets from a modified camera. The bottom image appears natural and normal. Below is a comparison of the histograms from the Photoshop RAW editor. The left image shows the As Shot white balance with the red channel clearly exposed more than the blue and green channels. The right image shows the Custom white balance obtained by using the white balance eyedropper tool and clicking on the WhiBal card in the image. You’ll see that the individual color peaks are not aligned, but the image appears exactly as it looked to my eyes. The red channel is brought down and more in balance with the other two channels. As an experiment, I aligned the three channel peaks manually in Photoshop, but the resulting color did not look right at all. Therefore, I feel the WhiBal card performed perfectly.

Here’s another comparison taken in my wife’s sewing room. At the time this was shot, there was a mix of incandescent, halogen, and natural lighting coming from all sorts of different directions. Not the most ideal situation for the WhiBal card, or so I thought. I simply held the card right over the middle of the pens (where my camera autofocused the first time) and snapped a photo. I used this image to save a custom white balance setting in Photoshop RAW, and then applied that setting to my first image. Below is the comparison:
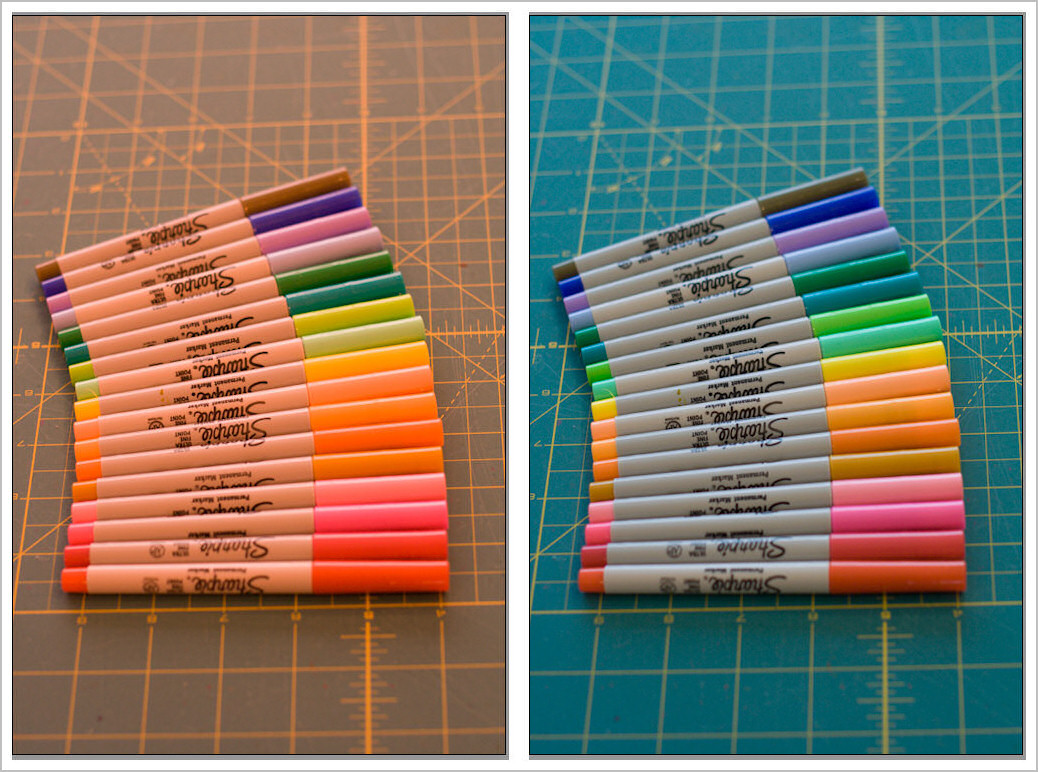
The left image is of course the As Shot white balance. The right image is the Custom white balance setting derived from the WhiBal card. So far I am pretty impressed. Next I'll need to get outside and see how the WhiBal performs in the great outdoors. I'll be sure to post my results here when completed.
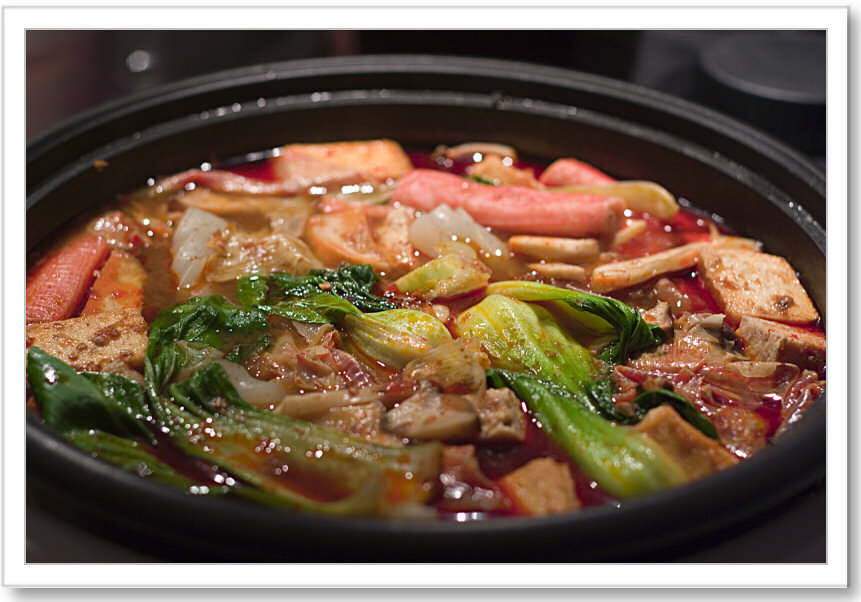 When the weather turns colder nothing warms you from the inside like a big bubbling pot of fiery broth loaded up with meat, veggies, and whatever else you want. This is not a dish for the 100-degree summers of Georgia - it is best enjoyed on a cold winter's evening. The broth is made up of a store-bought hot pot soup base and either water or chicken stock for flavor. In this case we chose a Taiwanese soup base in a jar. Some beef tendon was pre-cooked in the hot pot base using a pressure cooker to soften the tough connective tissue. When cooked for a long time, beef tendon takes on a wonderful gelatinous texture and absorbs the rich flavor of the broth.
 On the side there's usually a sauce into which you can dip the cooked bits of stuff. My favorite is sa-cha sauce mixed with a raw egg yolk and a little soy sauce. The other sauce we like is a simple mixture of sliced scallions and vinegar. The vinegar sauce compliments pork very well, but I prefer the sa-cha sauce on everything else. I think I am a sa-cha junkie - I love it with stir-fried beef and I always use it to make a sauce for pan-fried dumplings.
 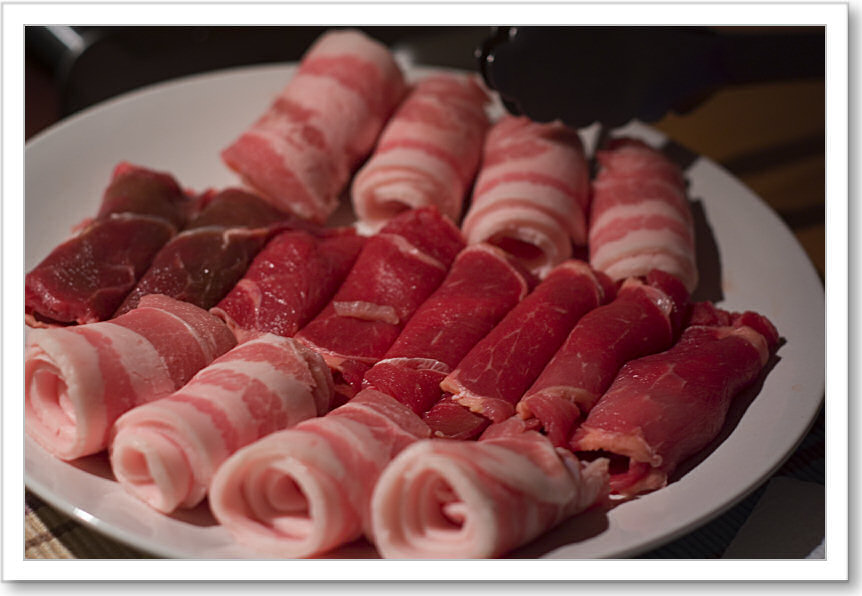 The pork takes a little extra attention to make sure it's cooked properly, but the beef only needs 30 seconds or so to preserve it's tender texture. We try to load up heavy on the vegetables and this time we used sliced king oyster mushrooms, enoki mushrooms, brown & white beech mushrooms, and bok choy. We also added tofu that had been previously frozen. The freezing process changes the texture and creates some holes which allow the tofu to soak up the broth. Tofu skin, purchased as dry sheets, is another tasty item which softens up in the broth and soaks up lots of spiciness.
  Frozen fish cakes and imitation crab meat were added for some seafood flavor, although scallops would have been good too (but so expensive!). At the end of the meal we put in some tang-oh (Garland chrysanthemum - Chrysanthemum coronarium) which soaks up a lot of the spicy oil floating on top of the broth.


